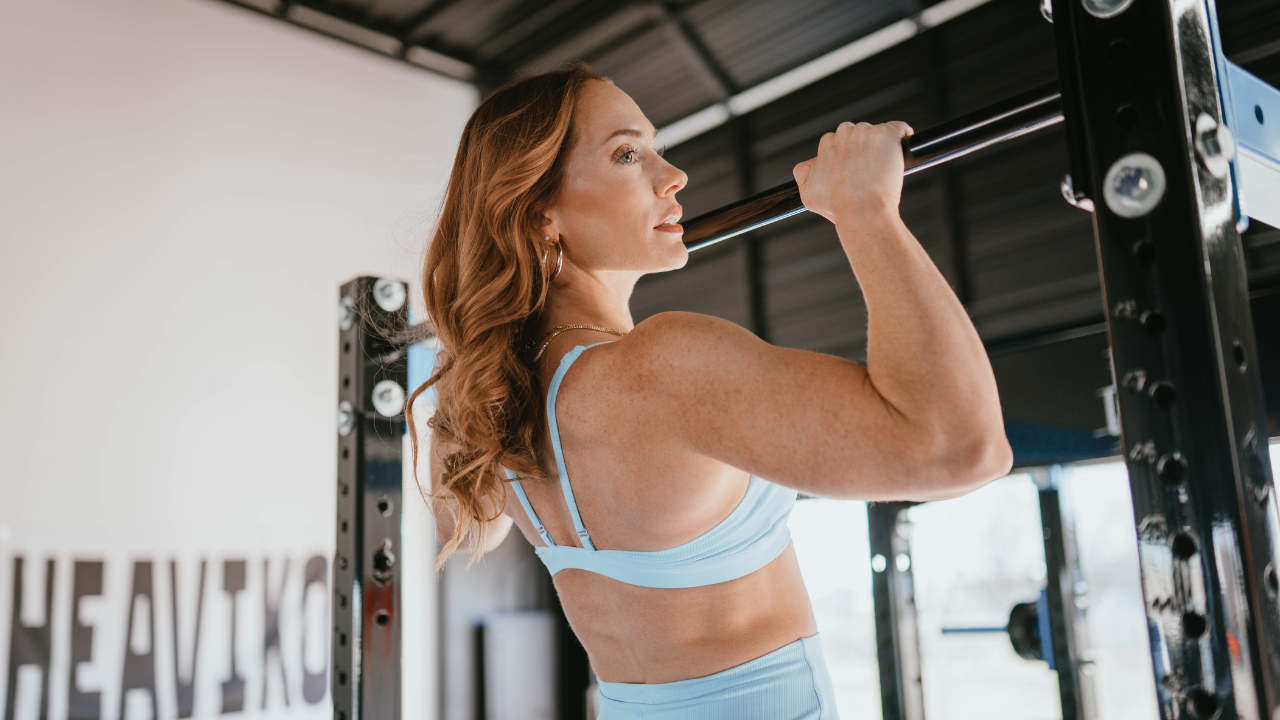
How to Get Your First Pull-Up
And I’m on a mission to get a barbell in every woman’s hands. After my career in powerlifting, I’ve spent the last decade educating millions of people on how to get stronger and build confidence in a world that’s focused on shrinking them.
I now coach 25,000+ women inside my strength training app, and this blog is where I share the conversations, lessons, and questions worth digging into a little deeper.
Hi, I'm meg

The Most Common Weak Points, Best Progression + Accessories That Actually Work
If you can’t do a pull-up yet, you’re not weak.
You’re just missing a few pieces.
Most people don’t fail at pull-ups because they “aren’t strong enough.”
They fail because they’re training the wrong things — in the wrong order.
Let’s fix that.
This is the exact progression that has helped thousands of women get their first strict pull-up — and it’s the same method I used myself.
We’ll cover:
- The position most people get wrong
- The #1 movement you need to prioritize
- A simple progressive overload plan
- Accessories (and which ones are overrated)
- Grip strength (the sneaky limiter)
Step 1: Stop Dead Hanging — Start Using a Hollow Body
Before we talk about strength, we need to talk about position.
Most beginners grab the bar and look like this:
Shoulders up by the ears.
Ribs flared.
Swinging around.
That’s a dead hang.
Instead, you want a hollow body hang.
Here’s what that means:
- Legs zipped together
- Slight posterior pelvic tilt
- Ribs pulled down
- Core on
- Shoulder blades pulled down (not shrugged)
- Head slightly behind the bar
You should look slightly like a banana.
This position:
- Creates full-body tension
- Engages your lats
- Protects your shoulders
- Makes the pull-up mechanically easier
If you can’t control your body in the hang, you won’t control it in the pull.
If you’re not doing pull-ups yet, practice hollow body hangs instead of dead hangs.
Can’t Hang Yet? Start on the Floor.
Same cues:
- Low back pressed into the floor
- Ribs down
- Chin slightly tucked
- Arms overhead (or down by your sides if that’s too hard)
Start with:
- 3 sets of 5–10 seconds
If you can hold a true hollow body for 30 seconds?
You’re in a great place.
Step 2: Learn the Scap Pull
Another common weak point: shoulder blade control.
When you hang, your delts shouldn’t be up by your ears.
Instead, think:
Pull your shoulder blades down.
That tiny movement?
That’s a scapular pull-up.
Practice it by:
- Hanging and pulling your shoulders down without bending your elbows
- Or rehearsing the motion with a PVC pipe
This teaches you how to initiate the pull correctly.
Because pull-ups don’t start with your arms.
They start with your back.
Step 3: The #1 Exercise You Need — Negative Pull-Ups
If you take nothing else from this article, take this:
The negative pull-up is the most important exercise for getting your first pull-up.
Not bands.
Not lat pull-downs.
Not rows.
Negatives.
How to Do It:
- Jump up so your chin is over the bar
- Stop your swing
- Slowly lower yourself down
- Resist gravity the entire way
- Stay in your hollow body position
Do NOT:
- Drop fast at the bottom
- Relax halfway down
- Skip the hardest range (mid-lower portion)
The eccentric builds the exact strength you need for the concentric.
What If You Drop Immediately?
If you can’t control yourself for at least 1–2 seconds:
- Use a band for assistance only during the negative
- Or use a box so your feet lightly assist
But the goal is still control — not bouncing.
Step 4: The Simplest Progressive Overload Plan Ever
Let’s say on your first test day, you can control your negative for 10 seconds.
Here’s your plan:
- Take your max (10 seconds)
- Multiply by 2 → 20 total seconds
- That’s your Session 1 goal
You can break it up however you want:
- 2 x 10 seconds
- 4 x 5 seconds
- 5 x 4 seconds
Just hit the total.
Next session?
Add 2 seconds.
20 → 22
22 → 24
24 → 26
Train this 3x per week for 3–4 weeks.
Then retest your max negative.
Most people who reach:
- 20–25 second controlled negatives
…are very close to their first pull-up — if not already there.
This is progressive overload.
It works.
Step 5: Accessories (Ranked Honestly)
There’s a lot of debate about “best pull-up exercises.”
Here’s my honest ranking.
Bread & Butter
- Negative pull-ups
- Hollow body holds
Very Helpful
- Inverted rows (easy to scale by changing body angle)
- Jumping pull-ups (good for confidence + volume)
Fine, But Overused
- Band-assisted pull-ups
- Lat pull-downs
Band pull-ups aren’t bad — they just make the hardest part easier, which means you’re not building strength where you need it most.
Lat pull-downs are great for general strength — but:
- You’re not hanging your bodyweight
- You’re not training grip properly
- You’re not training full-body tension
If your goal is your first strict pull-up, negatives beat both.
Step 6: Don’t Ignore Grip Strength
One of the most common limiting factors?
Grip.
And no, squeezing a stress ball isn’t enough.
To build grip:
- Dead hangs
- Dumbbell RDLs
- Heavy carries
- Deadlifts
- Holding heavy things for time
If you can’t hold onto the bar long enough to lower yourself slowly, you won’t build the strength you need.
Grip matters.
The Biggest Mistakes I See
- Skipping hollow body work
- Jumping straight to band pull-ups
- Avoiding negatives because they’re hard
- Not tracking total eccentric time
- Not progressively overloading
Pull-ups are a skill.
And like any skill — they respond to consistent, structured practice.
How Long Will It Take?
That depends on:
- Your starting strength
- Your bodyweight
- Your training consistency
But most women who train negatives 3x per week see major progress within 3–6 weeks.
And yes — you absolutely can get your first pull-up.
Want a Program That Builds This In?
If you don’t want to piece this together yourself, my program, Stronger By The Day, includes:
- Structured upper body progressions
- Pull-up development built into programming
- Progressive overload done for you
- Strength work that actually transfers
You don’t need random workouts.
You need progression.
And you’re stronger than you think.
This Substack is where I think out loud.
My email list is where I go deeper.
RSS Feed Link: https://megsquats.com/feed
Be the first to comment